Jump to content

Welcome to RennTech.org Community, Guest

There are many great features available to you once you register at RennTech.org
You are free to view posts here, but you must log in to reply to existing posts, or to start your own new topic. Like most online communities, there are costs involved to maintain a site like this - so we encourage our members to donate. All donations go to the costs operating and maintaining this site. We prefer that guests take part in our community and we offer a lot in return to those willing to join our corner of the Porsche world. This site is 99 percent member supported (less than 1 percent comes from advertising) - so please consider an annual donation to keep this site running.

Here are some of the features available - once you register at RennTech.org

  • View Classified Ads
  • DIY Tutorials
  • Porsche TSB Listings (limited)
  • VIN Decoder
  • Special Offers
  • OBD II P-Codes
  • Paint Codes
  • Registry
  • Videos System
  • View Reviews
  • and get rid of this welcome message

It takes just a few minutes to register, and it's FREE

Contributing Members also get these additional benefits:
(you become a Contributing Member by donating money to the operation of this site)

  • No ads - advertisements are removed
  • Access the Contributors Only Forum
  • Contributing Members Only Downloads
  • Send attachments with PMs
  • All image/file storage limits are substantially increased for all Contributing Members
  • Option Codes Lookup
  • VIN Option Lookups (limited)

Tool Pants

Moderators
  • Posts

    4,786
  • Joined

  • Last visited

  • Days Won

    6

Everything posted by Tool Pants

  1. http://www.renntech.org/forums/index.php?s...p;hl=alternator
  2. If this is the broken clip you are talking about - then replace it.
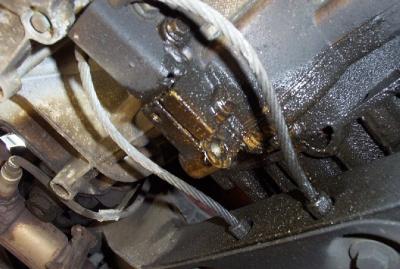
  3. There are many places where oil can leak from the engine. A common source is from the cam covers. If it is from the rear main seal or intermediate shaft seal then you will see oil in the area in the picture. This is where the transmission bolts to the engine. Where the cable is.
  4. It is the parts in plastic bags in post #7. http://www.renntech.org/forums/index.php?showtopic=5477 This is so you can mount the clear plastic window.
  5. I can't tell what the picture is. If it looks like these then it is the "dummy" switch to cover the oval hole. It is not a real switch - just a cover for the hole. People have changed the white icon or eliminated the white icon part of the switch, but I forget what they were doing. The footwell switch is about as nondescript as it gets. Most people use this switch for the OBC as it is.
  6. If you want to get fancy try this. http://wa4ekg.home.att.net/996images5/FWLswmod2.html There is no blank switch. The spoiler switch was for the turbo. Unlike the turbo your 1999 switches are canted. So when you put the switch in your 1999 the spoiler icons will be on an angle.
  7. If I were you. I would make sure the wheel bolts were put back on tight enough....
  8. For a US LHD car. For the passenger side counterclockwise to lock. Drivers side clockwise to lock. Make sure the headlight is seated then push it in hard with one hand, then lock it with the tool with the other hand. Like Loren said, it will make a snap noise when it is locked. My guess is your are not turning the tool hard enough because you are afraid of breaking something.
  9. That picture is much better and it is the mounting bracket for the cd changer for a RHD. In the UK some cars have an option called cd changer prep. The loom and the mounting bracket are already installed. All you need to do is add the changer. We do not have this option in North America. Remove the two 10mm bolts on the top of the bracket. Then you can lift it up and remove it. Then pull back the carpet. There should be an X cut in the carpet for the loom. The loom goes through a large rubber gromet and then into the area where the battery is. Behind the battery is another rubber gromet that goes into the cockpit. You may have to remove the battery to see it. If you make a hole in both gromets you can run wires from the front trunk all the way into the cockpit. Keep in mind I have never sen a RHD car in person, but that is how we do it on a LHD. The plastic cover next to your bracket is not like a LHD car. You may have to remove the cover first.
  10. This is for 2001-2004. http://www.renntech.org/forums/index.php?showtopic=12805 If you have a 1997-2000 then you use a different VW wire, and the wire goes into a different connector in a different position.
  11. I am not following this. The area that you labled filter is where the cd changer goes on a RHD. At least that is what I think due to the poor quality of the picture. The pollen filter is in the area where the battery is. On a RHD the filter is on the passenger/left side. You can see the filter on the right edge of this picture.
  12. I spoke to a local mechanic about the top indicator light not working. He said that when a 996 cluster is replaced it has to be coded, and part of the coding is to select cab or coupe.
  13. Spoke to a mechanic at my local dealer today. From what little I understood: If you reverse the polarity of the jumper then a fuse will blow. But I told him your fuses were fine. He then said that maybe a power surge damaged the ignition switch, as when there are problems with the switch the key cannot removed without the rod. He said to bring it in and play dumb. If the ignition switch is bad he said they can't tell how it happened.
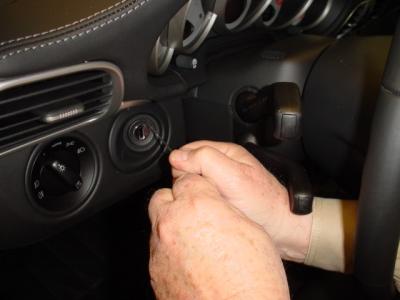
  14. Not up on the new cars. Have been told that if the battery dies you cannot remove the key. But I would have thought that once the battry is charged you could then remove it. Try this. Behind the fuse cover there is a metal rod that is used to remove the key with a dead battery. You stick that rod in a hole next to the ignition switch. I think there is a diagram on how to do this on the whte folded paper on the back of the fuse cover.
  15. If the gap is because of the tweaked clamshell then disconnect the pushrods to the clamshell. You can then manually operate the clamshell up and down. If the clamshell does not sit flush in the closed position then get 2 people and twist it back into shape. One guy holds one end steady and the other guy lifts up or down to twist it so that it is flat and even with the trunk lid.
  16. http://986forum.com/forums/showthread.php?t=11274 http://www.renntech.org/forums/index.php?s...;hl=turn+signal Both of the above appear to have a broken turn signal stalk. If they also have the OBC then they can unbolt the OBC stalk and you can add the OBC stalk to your switch assembly. But you will not have cruise control. The cruise control stalk does not unbolt like the OBC stalk.
  17. I spoke to Henry today and he said he would amberectomy your headlights. Henry had done at least 2 sets that I know of.
  18. Years ago the going rate was $150, but I'm sure prices have gone up. Check with Sunset Imports in Oregon. If you know anyone converting their Boxster to a track car you might check that out. We have a local owner that converted and he had the 4 stalk unit. But I have told several local owners about it so I doubt he still has it.
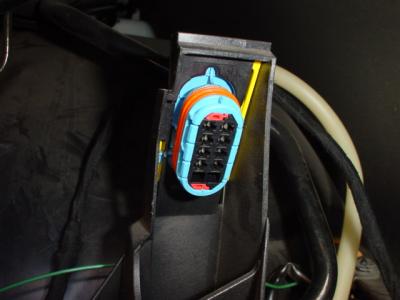
  19. Porsche sells plugs for switches, and the electrical pins. This one I bought as a VW part because it was cheaper.
  20. Screwing the joint in or out on the end of the threaded push rod is for small length adjustments. You can adjust the length of the push rod itself. Loosen the bolt on the push rod and then you can make the push rod longer or shorter. Here are the KLA instructions. http://www.klaindustries.net/bxstr-end/kla_986topfix1.pdf You do not need to remove the clamshell as stated in the instructions, which they call the tonneau.
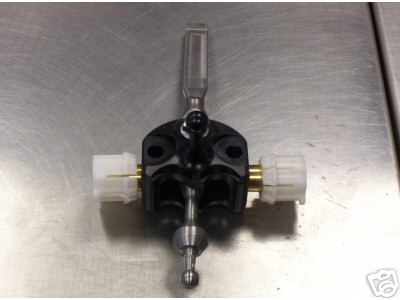
  21. Sounds like you have this version I saw on ebay. If so, can you provide the part number?
  22. If the key is turned on with the air bag disconnected you get the warning light. Most people need to have the key turned on in order to rotate the steering wheel in order to get to the torx screws for the air bag. Then when they disconnect the air bag electrical connector with the key still on the warning light goes on. Keep it simple and disconnect the negative battery cable before you start. Then you can turn the ignition on, rotate the wheel, and disconnect the air bag. After everything is back together then hook up the battery. Do not forget to put the yellow connector back on the air bag. A tip. The air bag is heavy. As you unscrew the 2 torx screws use your other hand to hold the air bag in place against the steering wheel. You do not want the air bag to fall out as the last screw is removed. You do not want the air bag to hange from the conntector.
  23. Sounds like you need the hinge kit. http://www.renntech.org/forums/index.php?showtopic=245
×
×
  • Create New...

Important Information

We have placed cookies on your device to help make this website better. You can adjust your cookie settings, otherwise we'll assume you're okay to continue.