Welcome to RennTech.org Community, Guest
There are many great features available to you once you register at RennTech.org
You are free to view posts here, but you must log in to reply to existing posts, or to start your own new topic. Like most online communities, there are costs involved to maintain a site like this - so we encourage our members to donate. All donations go to the costs operating and maintaining this site. We prefer that guests take part in our community and we offer a lot in return to those willing to join our corner of the Porsche world. This site is 99 percent member supported (less than 1 percent comes from advertising) - so please consider an annual donation to keep this site running.
Here are some of the features available - once you register at RennTech.org
- View Classified Ads
- DIY Tutorials
- Porsche TSB Listings (limited)
- VIN Decoder
- Special Offers
-
OBD II P-Codes - Paint Codes
- Registry
- Videos System
- View Reviews
- and get rid of this welcome message
It takes just a few minutes to register, and it's FREE
Contributing Members also get these additional benefits:
(you become a Contributing Member by donating money to the operation of this site)
- No ads - advertisements are removed
- Access the Contributors Only Forum
- Contributing Members Only Downloads
- Send attachments with PMs
- All image/file storage limits are substantially increased for all Contributing Members
- Option Codes Lookup
- VIN Option Lookups (limited)


juniinc
-
Posts
1,155 -
Joined
-
Last visited
Content Type
Profiles
Events
Forums
External Paint Colors
Downloads
Tutorials
Links Directory
Collections
Classifieds
Store
Everything posted by juniinc
-
01 Boxster check engine light
juniinc replied to hustler911's topic in 986 Series (Boxster, Boxster S)
yes they can be replaced, check this site - porscheleds.com -
19 inch wheels / Lowering Springs
juniinc replied to henrylee1's topic in 987-1 Series (Boxster, Boxster S)
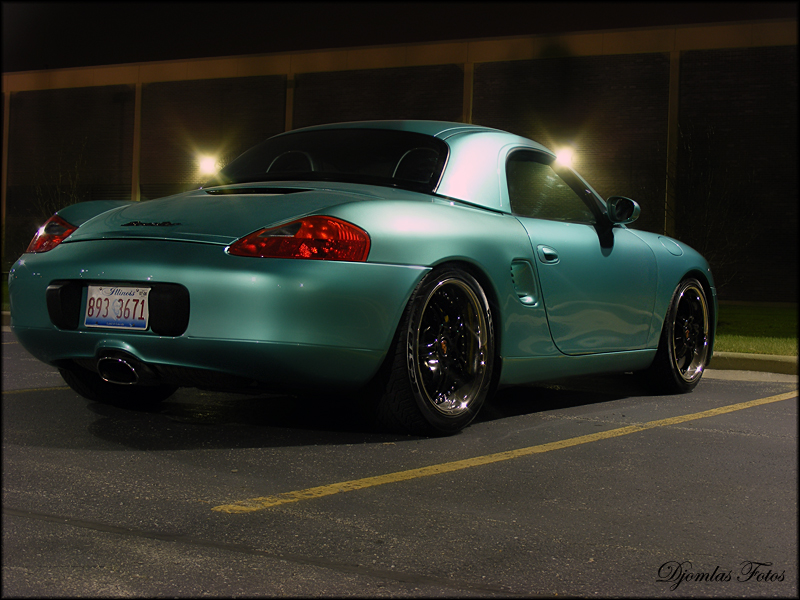
Either 19'" or 18" should fill up the fender arches same way. Even if U are going w/ 19's , outside diameter of your tires shoould be the same unless u want the speedo to be off,,,talking about filling the arches,,, probably want something like this. here is a pic of old member.
-
Anyone hard wired speakers to new CD head unit?
juniinc replied to skins's topic in 986 Series (Boxster, Boxster S)
forget about the Becker's factory remote on! If you are going to put a new head unit , u will need a remote wire from your new unit. And I wouldn't never use those skinny 16AWG fatory wires for the power source to my new amp! -
How important is PSM in a 986?
juniinc replied to Spongebob_Greenpants's topic in 986 Series (Boxster, Boxster S)
I don't have one & rather not -
AMP connectors to mate with factory harness
juniinc replied to rahlstrom's topic in 986 Series (Boxster, Boxster S)
forget those hardnesses , just hard - wire them,,, -
Anyone hard wired speakers to new CD head unit?
juniinc replied to skins's topic in 986 Series (Boxster, Boxster S)
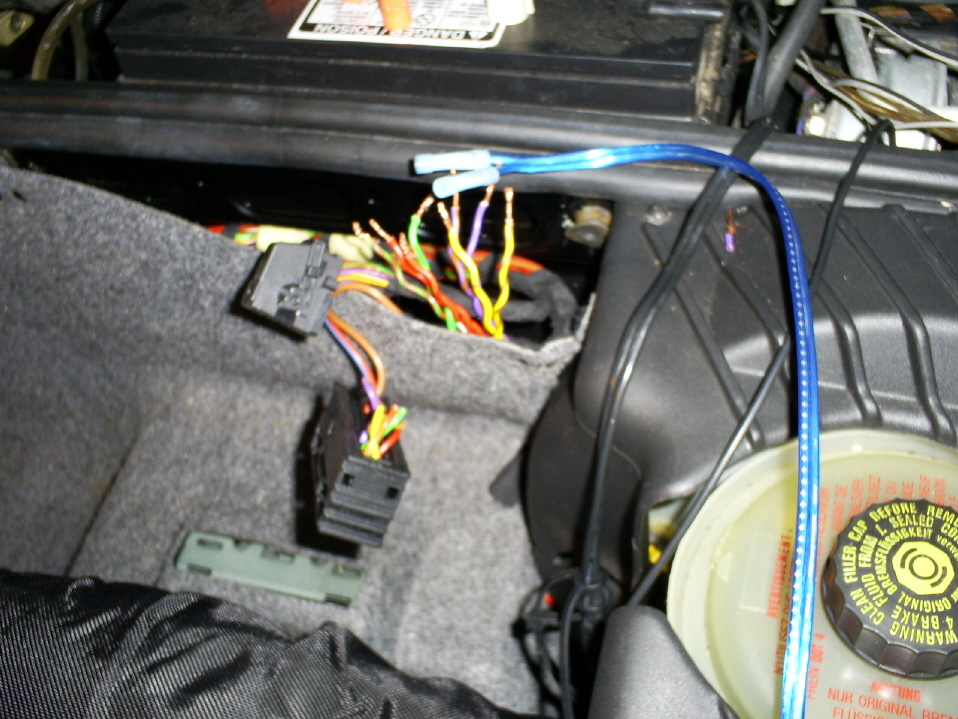
As cassie listed larger plug is the speaker out hardness, they are twisted in 4 pairs - the ones with stripes is your negative. Since U pm'ed me I thought to post this pix. green,purple,yellow,orange I belive,,,
-
any time ,man
-
Window motor acting strange
juniinc replied to twisted lizard's topic in 986 Series (Boxster, Boxster S)
There is a long thread regards to this window problem, I was also involved in it trouble shooting . If you can search that topic it will be helpful for u to follow the steps!. motor rarely go out in one way, I would check the door pins first to see if they are corroded. -
Your cooling system wasn,t pressurized probably. old cap's seal is all gone? It prolly all evaporated.
-
Rear Trunk Release Not Working on Remote
juniinc replied to dmenn's topic in 986 Series (Boxster, Boxster S)
How much did they charge U? -
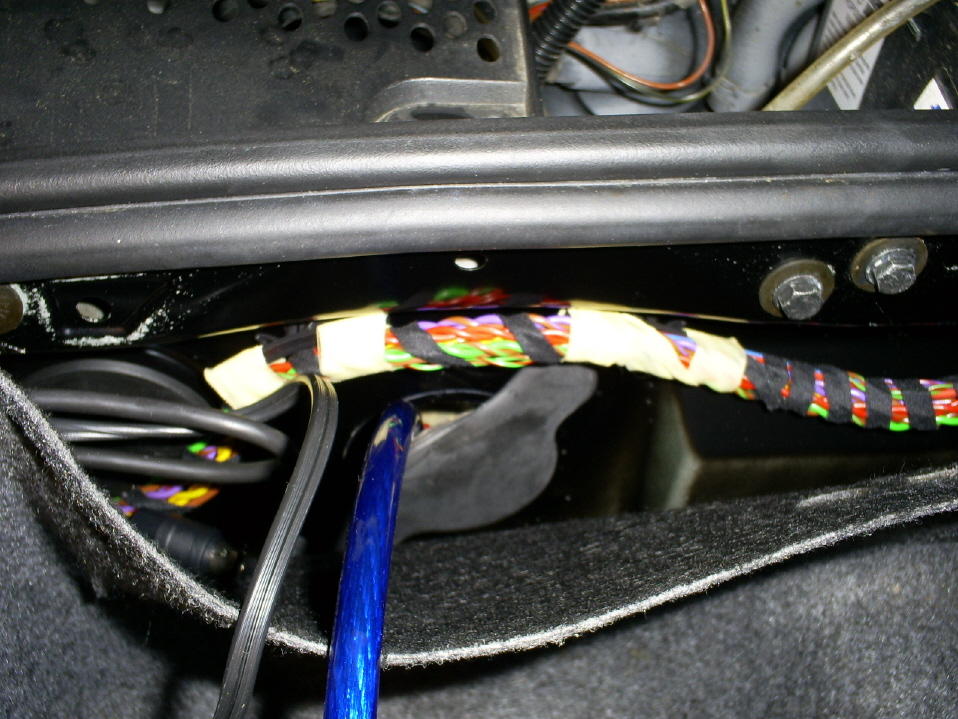
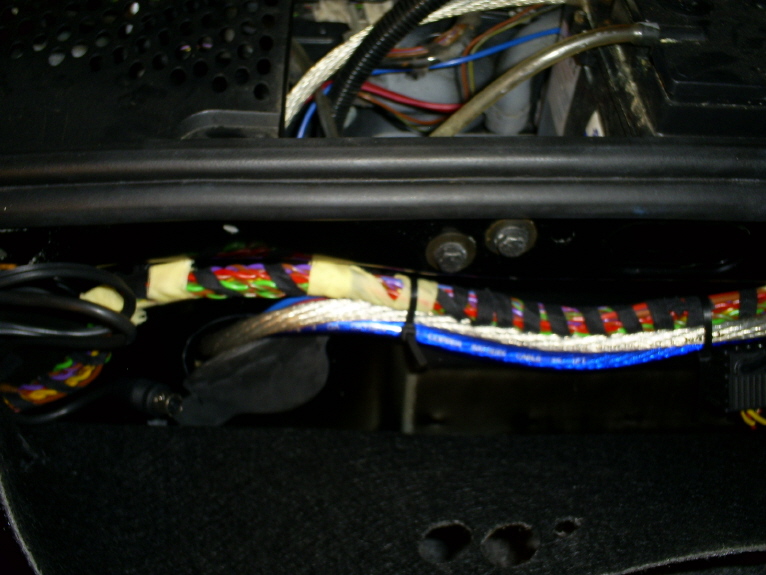
Hey thorman that would be very easy,,,notice where my Hi fonics Ampis located? Pull the carpet behind of it, you will see a rubber plug hole! On the 3rd pic, you will my battery & how my #2AWG power wire is ran. This mightbe able to help U.
-
did you re-pack the bearing good?
-
Anyone hard wired speakers to new CD head unit?
juniinc replied to skins's topic in 986 Series (Boxster, Boxster S)
I ve hard wired it, also posted enogugh pictures. Yes if you are going to push it with Alpine, it does sound more louder & clear. Cassiebox- Actually, I have already upgraded the factory speakers. Put new Alpines in both the dash & door. But with the factory amp still in, they sound as crappy as the factory Nokia speakers that came out. That's why I want to replace the Becker CDR-220 with a higher powered head unit and wire the speakers directly into it and bypass the amp. Any advice on hard wiring? Which set of plugs at the amp location go to the speakers? -
If it isn't leaking, replace the cap
-
Recommendation for paint restorer?
juniinc replied to gcortes's topic in 986 Series (Boxster, Boxster S)
yes, even though this is a non-abrasive polymer based , is recommended no less than 6 months. -
Recommendation for paint restorer?
juniinc replied to gcortes's topic in 986 Series (Boxster, Boxster S)
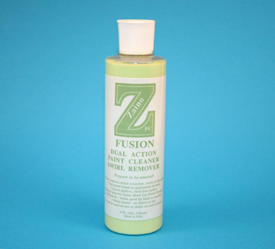
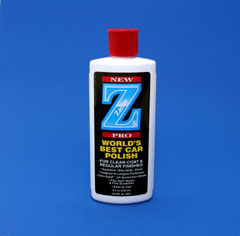
I'll have to say "Zaino" Step 1—STRIP THE OLD WAX Wash the car, going top to bottom, with Dawn Ultra liquid detergent. Thoroughly rinse the car with a pressurized hose and spray nozzle. Make sure all detergent soap is gone. Dry completely using only clean, soft, absorbent towels. Step 2—REMOVE CONTAMINANTS AND PREPARE THE SURFACE Feel all paint surfaces. They should be glassy smooth. Contaminated rough areas are quickly minimized using Claybar and a soap and water lubricant. Re-wash and dry the treated areas. Step 3 - Apply Z-2 swirl remover,cleaner ( use an orbital high RPM polisher/cutting foam pad) Step 4 - Z-5 Pro show car polisher Step 5 - wax to more depth ,gloss,protection. Step 6 - "WOW" BEFORE & AFTER
-
Anyone know how to replace visor mirror lights?
juniinc replied to mcluucy's topic in 986 Series (Boxster, Boxster S)
Any time,man. If u need further assistance there is a sun visor removal thread by Loren on the 4th Technical page, well explained direction is also there. Good luck Hmmm...never thought of checking out the fuse first. That may be the issue. Will check it out tonight or this weekend when I get a chance and will update this thread! Thanks, juniinc!!! -
Where can I get a alum. bumper heat shield?
juniinc replied to bigdog's topic in 986 Series Part Number Requests
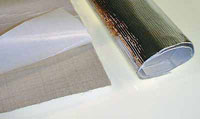
Pegasus racing makes this Aluminized Heat Barrier, Adhesive Backed. Great stuff,,,
-
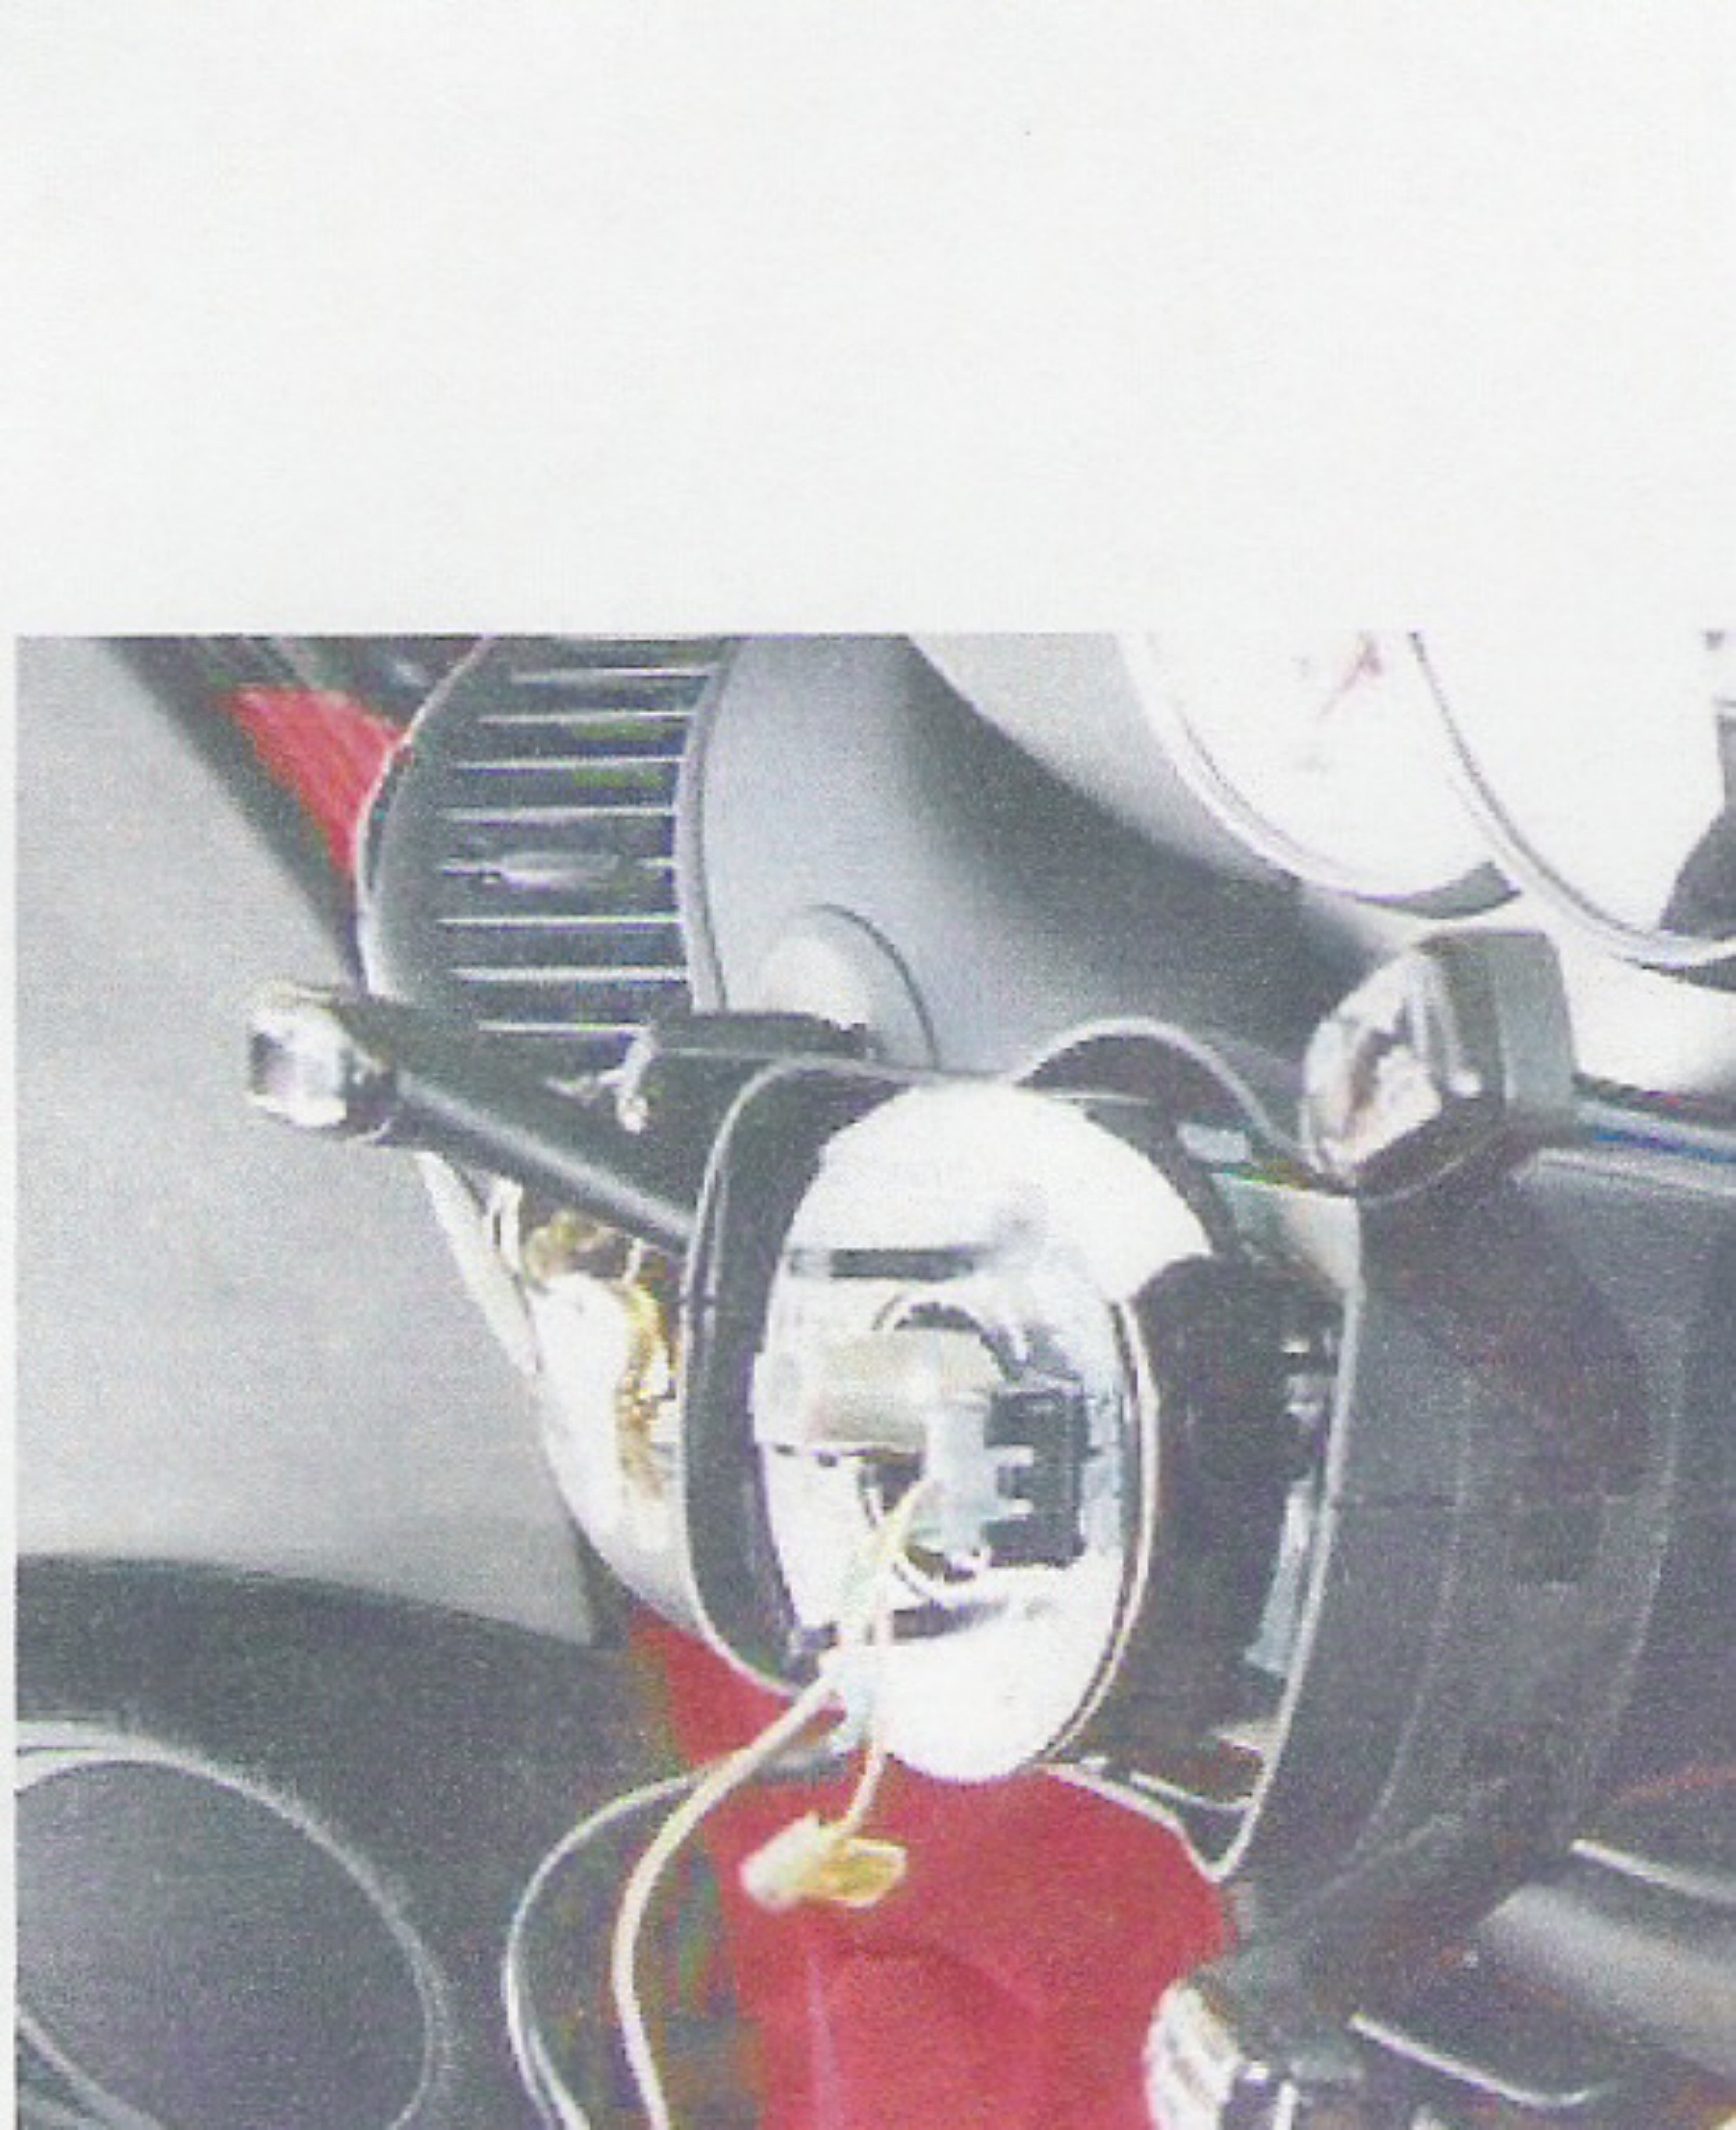
Hey Carlson, aew we talking about those 2 tabs on airbag spring unit? I wouldn't worry about it.
-
Don't 7mm spacer should work for the front. In the rear, you'll want a 10mm-12mm spacer. Sorry for the ignorance, but how do you guys calculate these numbers... I know what the suggested OEM diameter, width and offset are for my model (986). How do I go from there if I want to look at aftermarket wheels which do not match the OEM width and offset? How do you add spacers to that equation? Thank you so much, Gus
-
Radio ticks/clicks when car unlocked
juniinc replied to marky2006's topic in 986 Series (Boxster, Boxster S)
Im assuming all of u are equipped with CD player? pull your CD's out then see if it happens. -
a few options out there -emergency cable should be located behind the passenger(US) side headlight( inside fender well usually) -unlocking the lever by using a small screw driver -locate looped latch cable inside the drivers side fender well then jerk(US) -get a cigarette light booster to unlock/charge battery As Loren mentioned ,do your search U might be able to get more info.
-
Anyone know how to replace visor mirror lights?
juniinc replied to mcluucy's topic in 986 Series (Boxster, Boxster S)
It is a simple job.probably it's the blown fuse or bulb using a small, skinny screw driver U will need to unclip mirror insert. -
2001 2.7 Boxster possible blown head gasket?
juniinc replied to tvacom's topic in 986 Series (Boxster, Boxster S)
Good deal! -
New Member 2003 Boxster S
juniinc replied to Blaine Sellie's topic in 986 Series (Boxster, Boxster S)
hey Blaine, Park Place Bellevue? haha