Jump to content

Welcome to RennTech.org Community, Guest

There are many great features available to you once you register at RennTech.org
You are free to view posts here, but you must log in to reply to existing posts, or to start your own new topic. Like most online communities, there are costs involved to maintain a site like this - so we encourage our members to donate. All donations go to the costs operating and maintaining this site. We prefer that guests take part in our community and we offer a lot in return to those willing to join our corner of the Porsche world. This site is 99 percent member supported (less than 1 percent comes from advertising) - so please consider an annual donation to keep this site running.

Here are some of the features available - once you register at RennTech.org

  • View Classified Ads
  • DIY Tutorials
  • Porsche TSB Listings (limited)
  • VIN Decoder
  • Special Offers
  • OBD II P-Codes
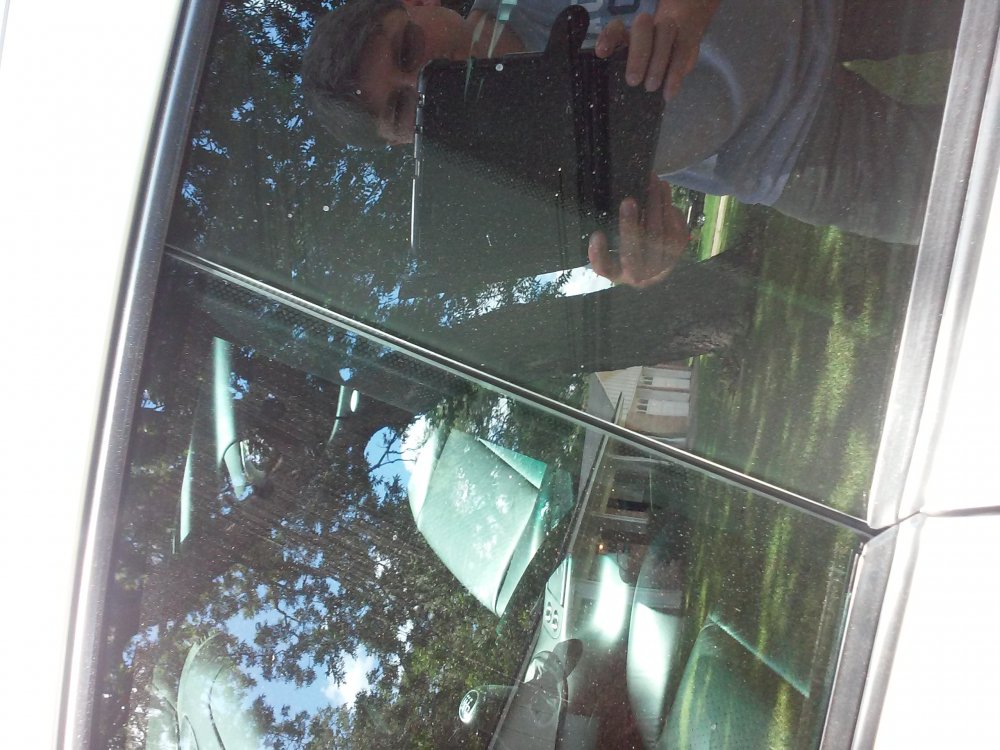
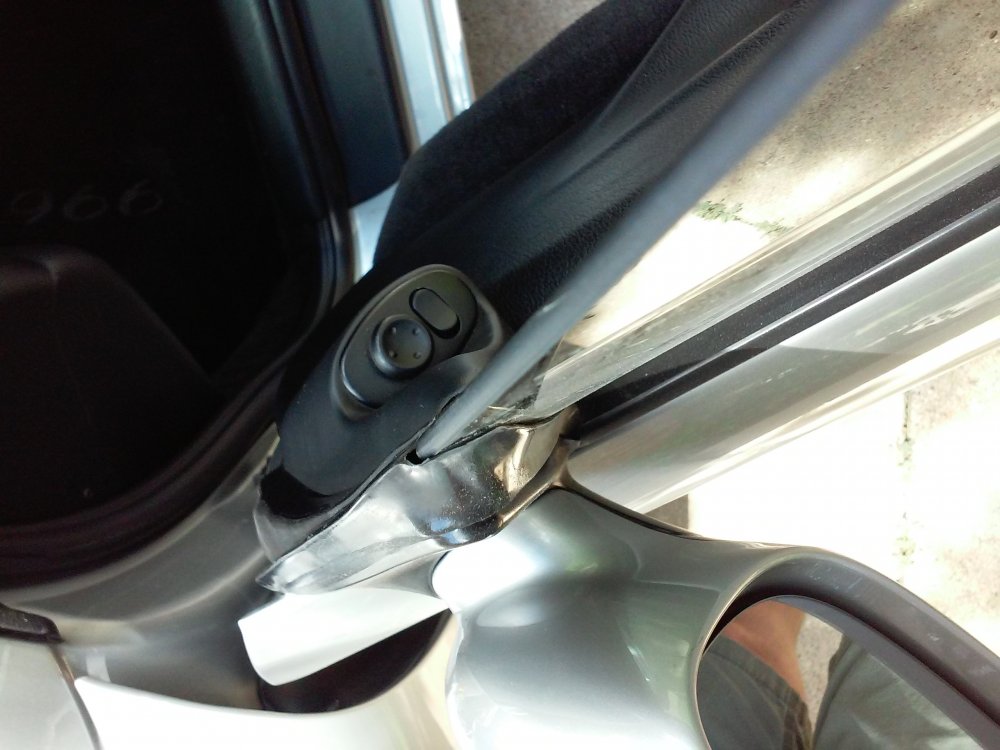
  • Paint Codes
  • Registry
  • Videos System
  • View Reviews
  • and get rid of this welcome message

It takes just a few minutes to register, and it's FREE

Contributing Members also get these additional benefits:
(you become a Contributing Member by donating money to the operation of this site)

  • No ads - advertisements are removed
  • Access the Contributors Only Forum
  • Contributing Members Only Downloads
  • Send attachments with PMs
  • All image/file storage limits are substantially increased for all Contributing Members
  • Option Codes Lookup
  • VIN Option Lookups (limited)

Kdgiv

Contributing Members
  • Posts

    16
  • Joined

  • Last visited

About Kdgiv

  • Birthday 09/23/1970

Profile Information

  • Gender
    Male
  • Interests
    Porsche history and my 996

Profile Fields

  • From
    Lake Jackson, Texas, USA
  • Porsche Club
    PCA (Porsche Club of America)
  • Present cars
    2003 Porsche 911 C2 Manual
  • Future cars
    Porsche 911 - 991
  • Former cars
    None

Kdgiv's Achievements

Member

Member (1/1)

0

Reputation

  1. Awsome... Thanks for the reply. My top mounts are making noise so I am also going to replace those with bearings.
  2. I performed my RMS by constructing a tool out of PVC. I used a 3" slip coupling (no stop in the inside diameter) and 3" sch 40 pipe. the pipe acts as a stop against the crack shaft flange and the coupling edge presses the seal in. If I remember correctly the seal is set into the block by 13mm. I glued the 3" pipe into the coupling at the proper depth to allow the coupling to extend the proper depth past the edge of the block. I then cut the assembly to a total length that allowed the flywheel bolts to be used to press in the seal. Carefully slide the seal over the crankshaft until the seal touches the block all the way around. place your tool over the crankshaft, start two flywheel bolts across from one another, and slowly/evenly tighten the bolts until the pipe contacts the crankshaft flange. This insures a square installation at the proper depth. I also used the recommended sealant on the outer part of the seal before installation. I hope this helps because I destroyed a seal by trying to just tap it in.
  3. I recently performed a suspension bushing refit with Powerflex bushings @ 82000 miles. I noticed movement while driving over road transitions at speed. Some describe it as bump steer. When I took the suspension apart and inspected bushings, my lower control arm outer bushings all had one side of the rubber ripping away/cracked from the outer metal housing of the bushing. The rear upper control arm links all had the center part of the bushings offset to one side and some had visible separation from the outer part of the bushing. I also find one lower control arm link with a bad joint. It moved and made obvious noise when I moved it by hand. Others have reported no issues with the stock bushings at high mileage, but I share this experience so at least you can take a look at these components. Kind Regards,
  4. Sorry, spell checker... "Derametric" Ha Ha...
  5. To find what your looking for takes a lot of research and what you find about PIDs (Parameter IDs) on Porsche automobiles is minimal. Much of the values you detect must have a conversion / equation to determine actual useable information. Software like Dramatic performs all of this for you. Apps for Android and iOS do the same, but are not as robust as Dramatic. I have tried to find a factory OBDII manual without luck. If you find anything out, share it. Enjoy...
  6. Thank you Loren... This will get closer to the conversion.
  7. Loren, I am gathering all the required parts to convert my 2003 C2 coupe to the M030 sport suspension. I purchased a used set of struts and shocks with springs and needed to match the sway bars. Looking at the pats diagrams and all the options for bars, I am unsure what to get. Could you clarify the sway bars I need front and rear for the conversion by part number and diameter? Also confirm if any or all of my stock bars are the same as the M030 requirements. I ask because it appeared from the parts diagram that the front may be universal fitment for the sport suspension. Thanks in advance and for the guidance earlier.
  8. Thanks for the explanation. So far so good. This issue hasn't come up for me yet.
  9. Excellent pics and great information. I just changed mine.
  10. Hi, I have claimed my first love since I was a boy when I fell in love with the 911. I purchased a 2003 996 withjust under 60,000 miles. I had a misfire after some heavy rain and replaced No. 1 coil. Since then I have also replaced the motor mounts. I am planning on changing the rest of the coils and also the plugs. Farmer boy mentioned a "tickover problem" that he fixed with a new idle air control valve. Could someone explain the problem he was having?
  11. After further investigation, the door alignment is fine. It looks more like alignment of the window. The top rear edge of the window is tighter than the bottom edge. I also noticed a gap at the front edge where the glass goes into the rubber channel. I am confused in what adjustment to make.
  12. After further investigation, the door alignment is fine. It looks more like alignment of the window. The top rear edge of the window is tighter than the bottom edge. I also noticed a gap at the front edge where the glass goes into the rubber channel. I am confused in what adjustment to make.
×
×
  • Create New...

Important Information

We have placed cookies on your device to help make this website better. You can adjust your cookie settings, otherwise we'll assume you're okay to continue.